







Microscope slides are one of the most essential consumables in laboratories, medical diagnostics, biology education, and research applications. Proper slide preparation directly affects image clarity, diagnostic accuracy, and experimental reliability.
This guide explains how to prepare microscope slides step by step, the different preparation methods, common mistakes, and how slide quality impacts microscopic results.
What Is a Microscope Slide and Why It Matters
A microscope slide is a thin flat piece of glass used to hold specimens for observation under a microscope. It provides a stable and transparent platform for light transmission and magnification.
High-quality microscope slides ensure:
Clear and distortion-free imaging
Stable specimen positioning
Accurate biological or chemical observation
Compatibility with various microscope systems
Poor-quality slides can lead to blurred images, contamination, or inaccurate analysis results.
Types of Microscope Slides Used in Laboratories
Different applications require different types of microscope slides.
Plain Microscope Slides
Used for general laboratory work and basic specimen observation.

Frosted End Microscope Slides
One end is frosted for easy labeling and sample identification.

Charged Microscope Slides
Specially treated to improve tissue adhesion, commonly used in histology and cytology.
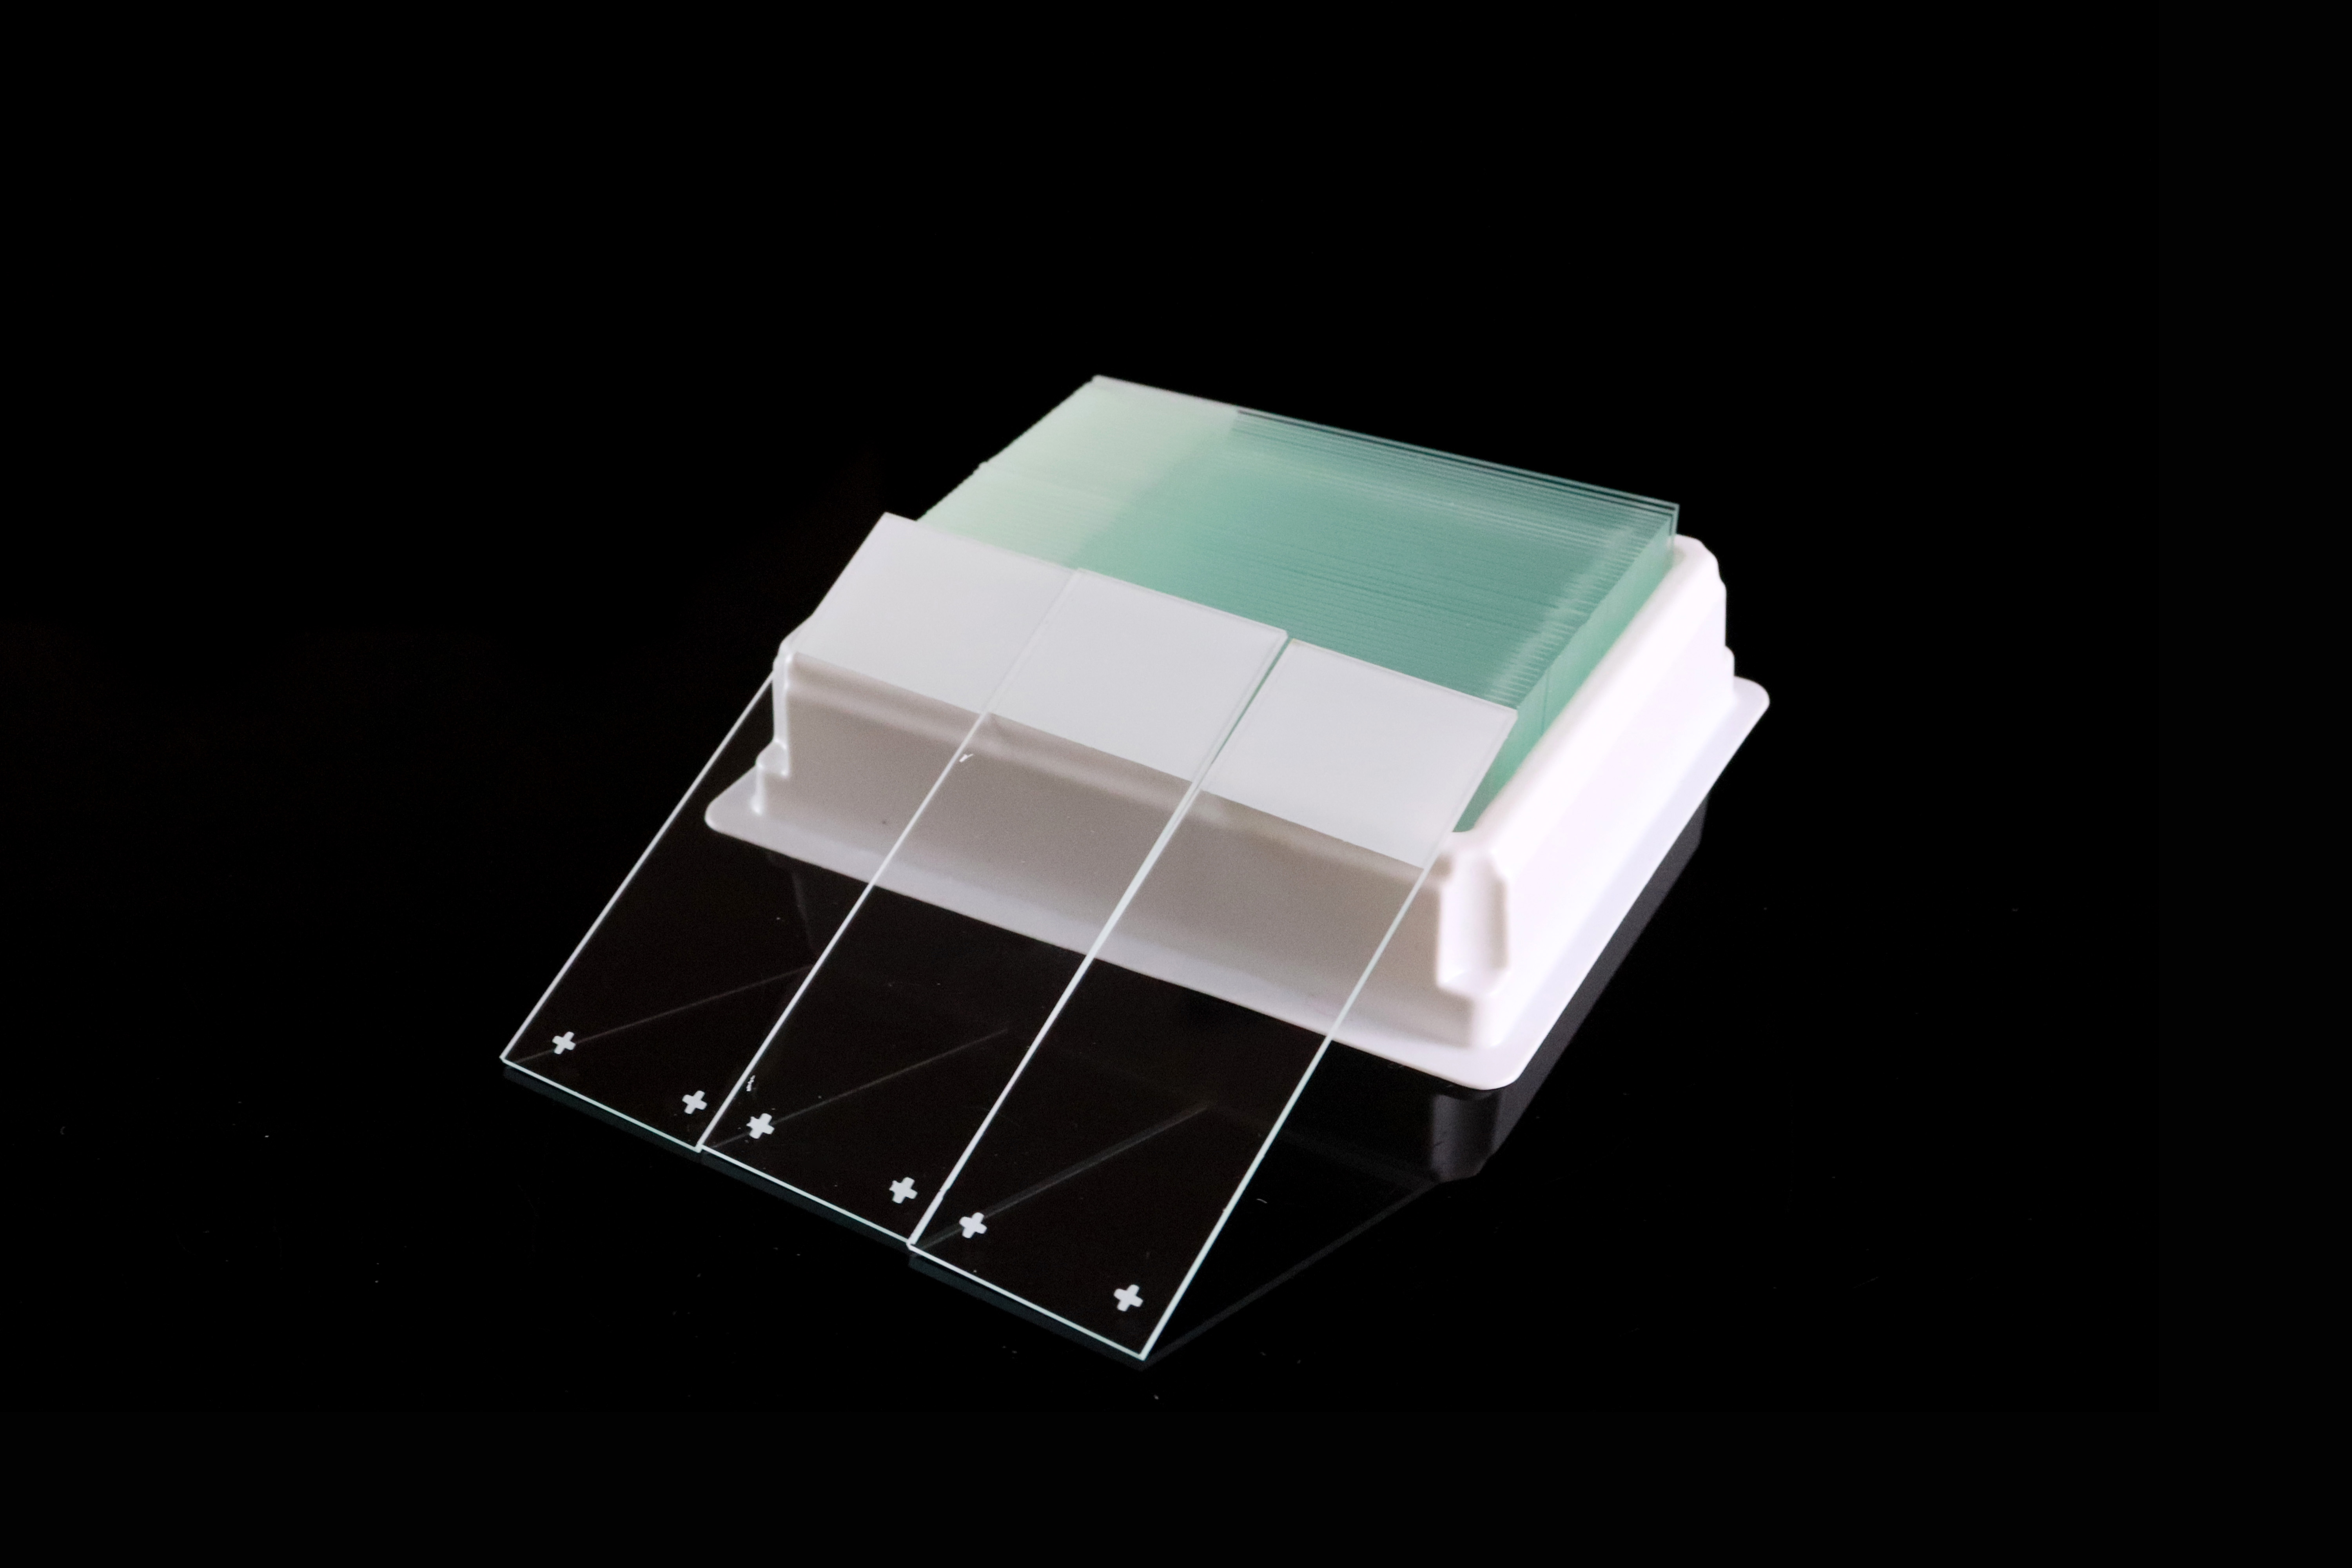
Prepared Microscope Slides
Pre-mounted samples used for education and demonstration purposes.
Slide Type | Main Use | Industry |
|---|---|---|
General observation | Education, labs | |
Labeling & tracking | Medical labs | |
Tissue adhesion | Histology, pathology | |
Prepared Slides | Teaching samples | Schools, universities |
Materials Required for Microscope Slide Preparation
To prepare a microscope slide properly, you typically need:
Clean glass microscope slide
Cover slip
Specimen (plant, tissue, or liquid sample)
Mounting medium (water, glycerin, or resin-based medium)
Staining solution (optional depending on application)
Forceps or dropper
For laboratory-grade applications, slide cleanliness and glass purity are critical factors that influence imaging quality.
Step-by-Step Microscope Slide Preparation Process
Step 1: Clean the Microscope Slide Properly
Ensure the slide is free from dust, oil, or fingerprints. Any contamination can reduce image clarity.
Why it matters:
Even microscopic dust particles can distort light transmission.

Step 2: Place the Specimen on the Slide
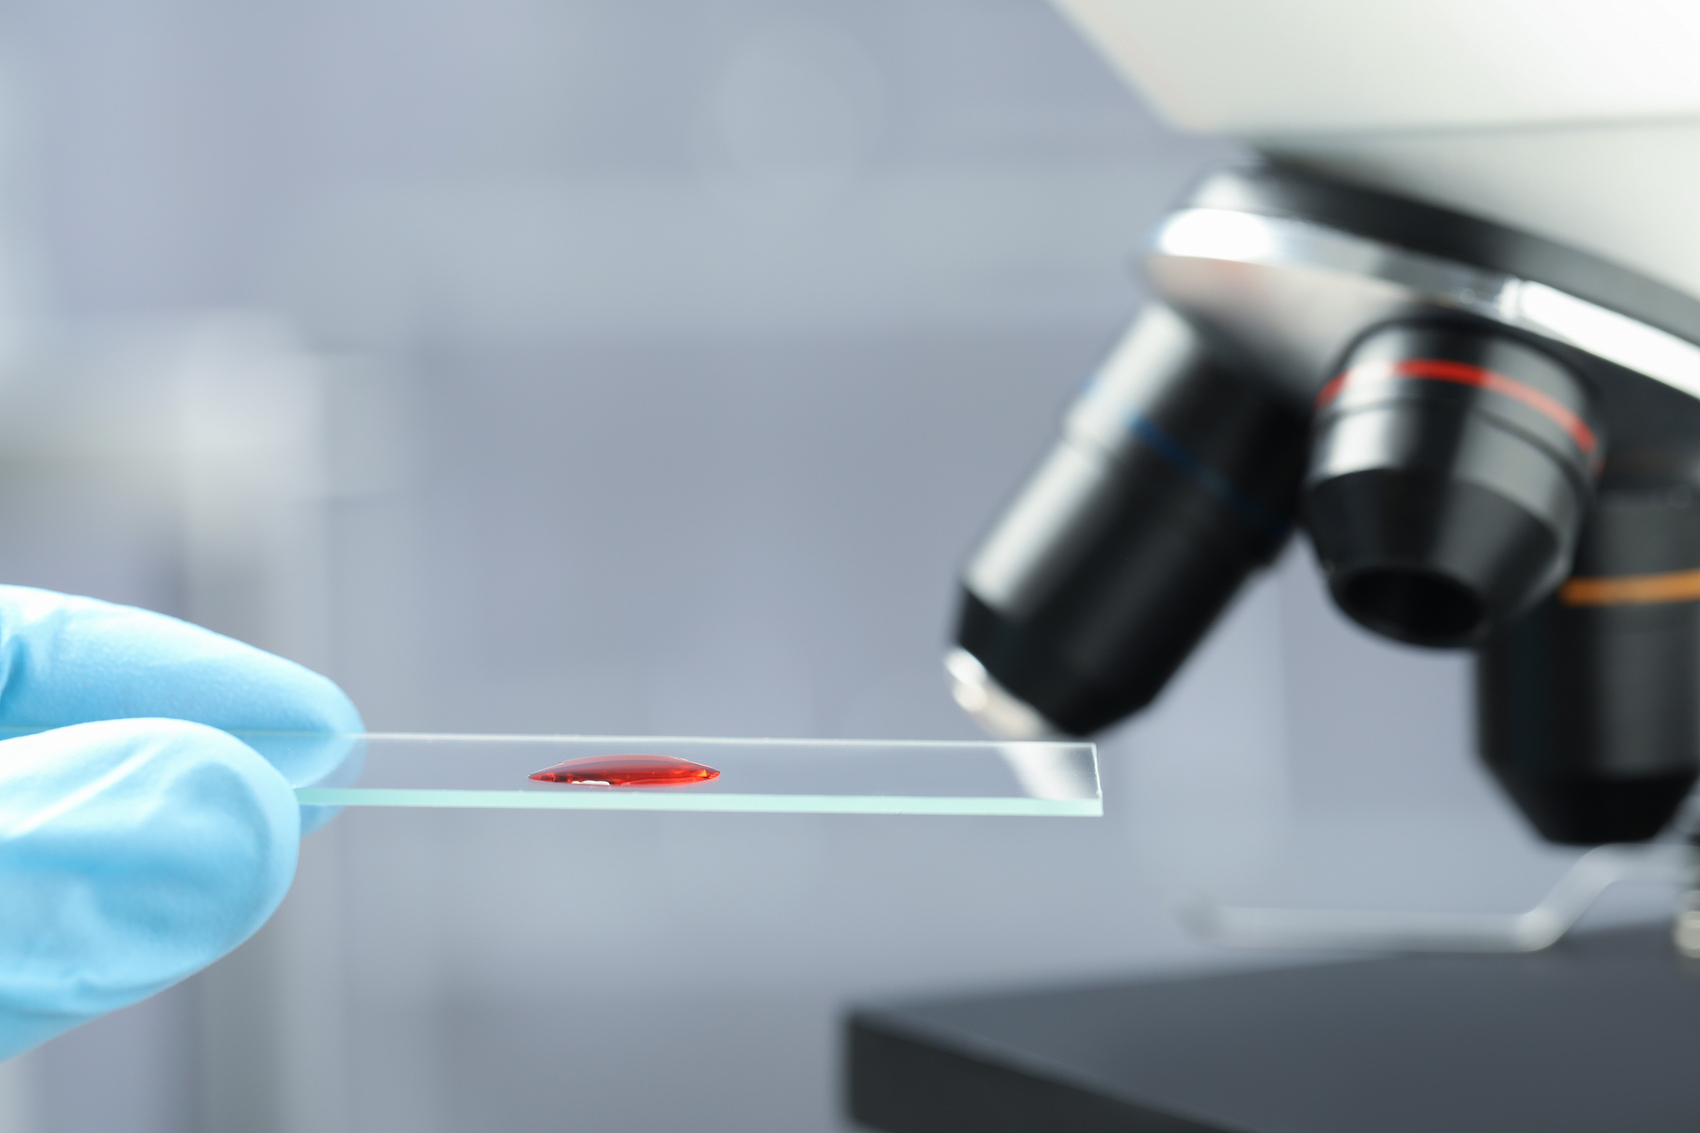
Carefully position a thin layer of specimen in the center of the slide.
Common mistake:
Using overly thick samples leads to poor focusing and unclear images.
Step 3: Add Mounting Medium
Add a small drop of mounting medium over the specimen.
Why it matters:
It preserves the sample and improves optical clarity.
Step 4: Apply the Cover Slip Correctly
Gently lower the cover slip at an angle to avoid air bubbles.
Common mistake:
Dropping the cover slip directly causes trapped air bubbles.
Step 5: Remove Air Bubbles
If bubbles appear, gently press the cover slip or re-mount the sample.
Why it matters:
Air bubbles interfere with light passage and distort observation.
Step 6: Label the Slide
Use a marker or frosted end to label sample details.
Best practice:
Include sample name, date, and preparation method.
Wet Mount vs Dry Mount vs Smear Preparation
Different preparation techniques are used depending on specimen type.
Method | Description | Best For |
|---|---|---|
Wet Mount | Sample in liquid medium | Live organisms, cells |
Dry Mount | Direct placement without liquid | Hair, fibers, pollen |
Smear Preparation | Thin spreading of sample | Blood, bacteria |
Common Mistakes in Microscope Slide Preparation
Many imaging problems come from incorrect preparation techniques:
Air bubbles trapped under cover slip
Contaminated or unclean slides
Excessive sample thickness
Incorrect mounting medium usage
Poor labeling or identification
Overheating or drying of samples
Avoiding these mistakes significantly improves observation accuracy.
Why Slide Quality Affects Microscopy Results
The quality of microscope slides directly affects imaging performance.
Key factors include:
Glass clarity: High transparency improves light transmission
Flatness: Ensures accurate focusing across the field
Surface cleanliness: Prevents artifacts and contamination
Edge grinding quality: Reduces handling injuries and chipping
Optical consistency: Ensures uniform refractive performance
In professional laboratories, inconsistent slide quality can lead to unreliable diagnostic results.
How to Store Prepared Microscope Slides
Proper storage is essential for long-term preservation.
Best practices include:
Store slides in dry, dust-free slide boxes
Avoid direct sunlight and humidity exposure
Keep slides in vertical or organized racks
Label clearly for quick identification
Separate fragile or stained samples carefully
Proper storage ensures long-term stability and reproducibility of results.
Applications in Different Fields
Microscope slides are widely used across multiple industries:
Medical Diagnostics
Used for disease detection, pathology, and clinical analysis.
Histology and Cytology
Essential for studying tissues and cellular structures.
Education
Used in schools and universities for biology experiments.
Research Laboratories
Supports advanced biological and chemical research.
Troubleshooting Microscope Slide Problems
Problem | Possible Cause | Solution |
|---|---|---|
Blurry image | Thick sample or poor focus | Reduce sample thickness |
Air bubbles | Incorrect cover slip placement | Re-mount carefully |
Sample drift | Poor mounting medium | Use proper adhesive medium |
Staining issues | Incorrect staining method | Follow standardized protocol |
Low contrast | Poor slide quality | Use high-quality glass slides |
Frequently Asked Questions (FAQ)
How do you prepare microscope slides at home?
You can prepare simple wet mounts using a clean slide, water, cover slip, and a thin specimen such as onion skin or leaf tissue.
What liquid is used in slide preparation?
Common liquids include water, glycerin, and synthetic mounting media depending on application.
Can microscope slides be reused?
Glass slides can often be reused after proper cleaning and sterilization, while many clinical slides are single-use depending on contamination risk.
Why do air bubbles form in microscope slides?
Air bubbles usually form when the cover slip is dropped flat instead of being lowered at an angle.
What is the best material for microscope slides?
High-quality optical glass (soda lime or borosilicate) is widely used for laboratory applications due to clarity and durability.
Choosing High-Quality Microscope Slides for Laboratories
When selecting microscope slides for professional use, consider:
Glass type (soda lime vs super white)
Surface cleanliness and optical clarity
Thickness consistency
Edge grinding quality (safety + durability)
Compatibility with staining and imaging methods
Packaging for contamination-free transport
Bulk supply stability for laboratories
For medical, research, and industrial applications, consistent slide quality is critical for reproducible results.
Final Thoughts
Microscope slide preparation is a fundamental laboratory skill that directly influences observation quality and experimental accuracy. Whether for education, clinical diagnostics, or research, proper preparation techniques combined with high-quality slides ensure reliable microscopic results.

Related Articles
-
 Compare the main types of microscope slides, including plain, frosted, color frosted, positively charged, adhesive and concave designs. Learn how labeling, tissue adhesion, dimensions and edge finishes affect selection, and use our practical checklist to specify slides for laboratory and OEM orders.
